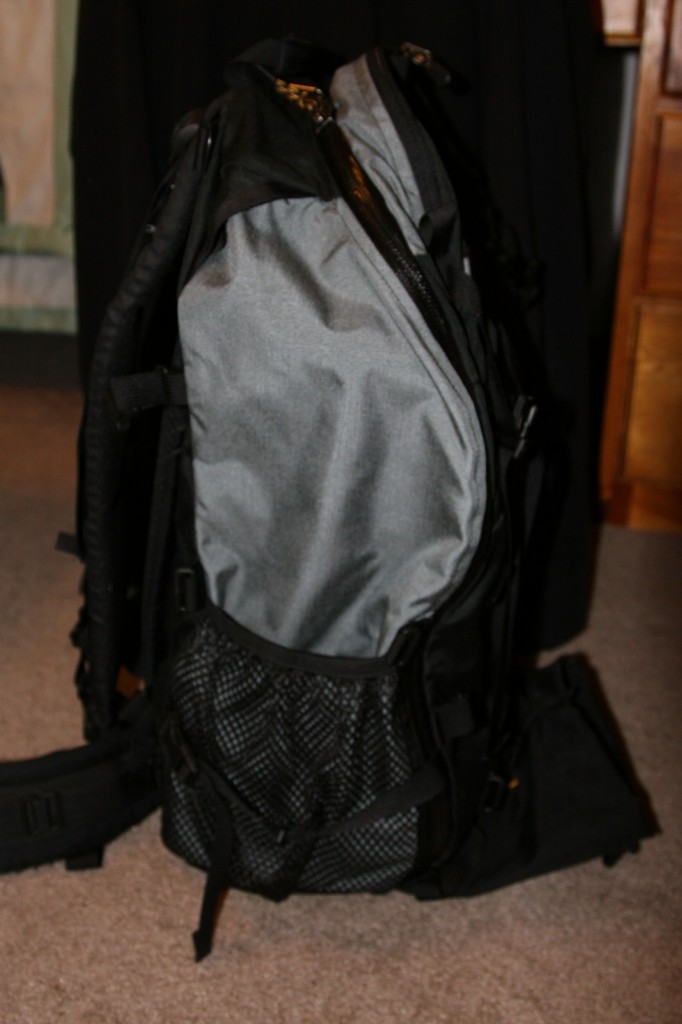
I’ve been a huge fan of Kinesis Photo Gear for quite some time. Almost since I began taking photographs, I’ve used their belt system, with several interchangeable bags to carry my camera body, lenses, and binoculars. However, I find myself facing two problems. The first is that I am hiking further and further to get photos, and the second is that I simply don’t have room on that belt to fit my ever-growing stash of loot. In an effort to not have to buy all new bags, I looked to see what Richard Stum had cooked up over at Kinesis.
What I found was the Journeyman Pack. I ended up getting it as a Christmas present last year, and since I have had 2 months to put it through its paces, I wanted to share some thoughts.
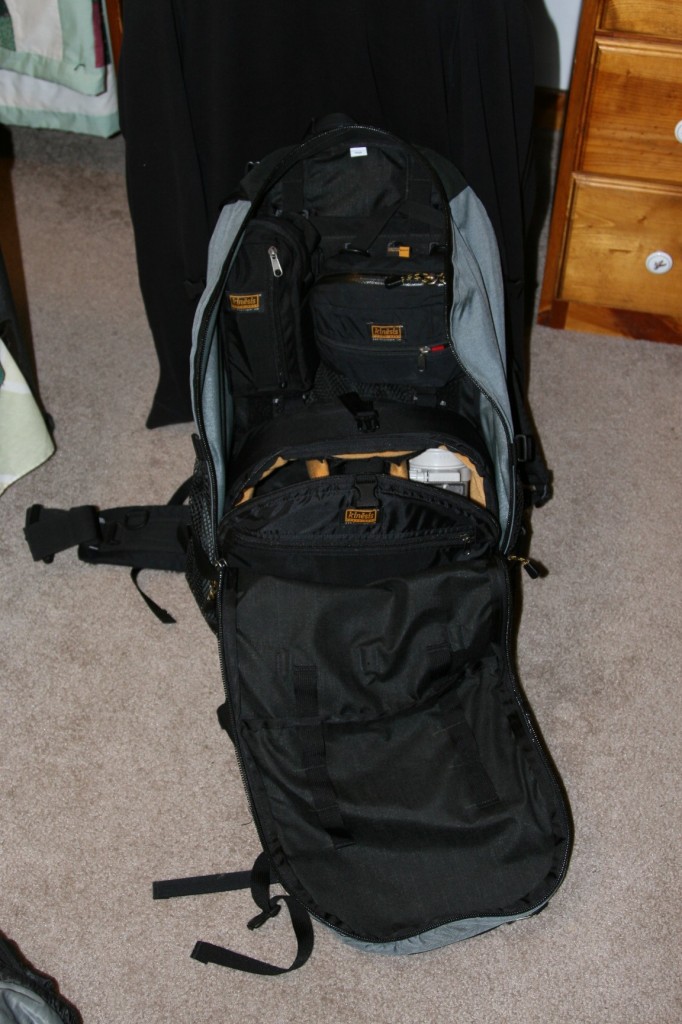
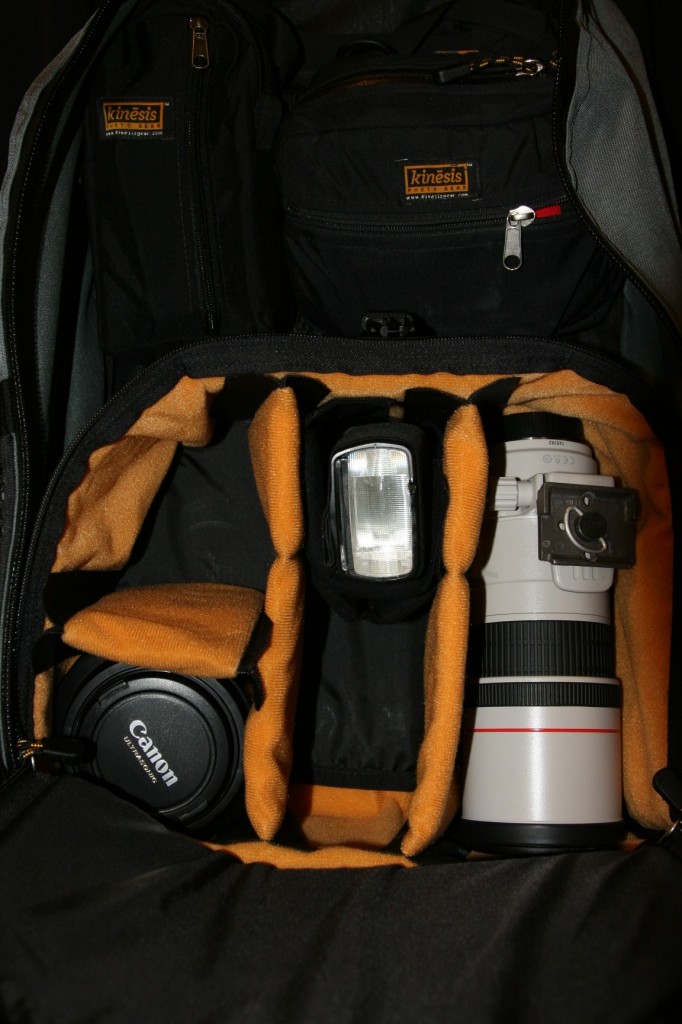
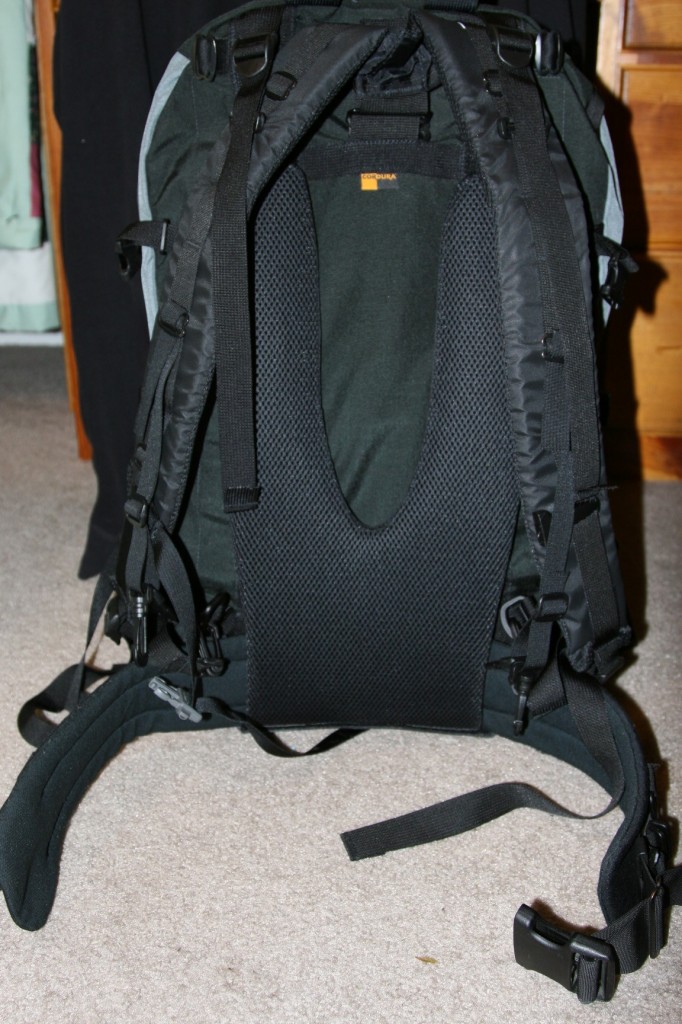
Making the transition from the belt system to the backpack was very easy. First of all, my hip belt became the belt for this backpack. To use your belt with the pack, you will need an adapter, but they provide this free when you order the backpack. Inside of the backpack, there are plenty of loops and webbing–and you can purchase elevator adapters–to use existing Kinesis pouches inside of the pack itself. I went ahead and bought a front-loading module to provide a padded space for all my expensive equipment, saving my less padded pouches for filters, batteries, etc.
This pack is very well built, and is ready to take on the most rigorous of backcountry hikes. It has heavy-duty YKK zippers (things I always blow out on gear) and is made of heavy-duty Cordura nylon. The harness system is also very comfortable. The pack rides very well, and it moves with you almost seamlessly. I tend to hike fairly quickly, so that’s an important feature for me. I’m also a klutz, so its double important! Seriously, after having worn countless backpacks over the years, I’d even say this pack is the best fitting one I’ve worn. It really is that good.
I’m not receiving any kickbacks from Kinesis for writing this review, nor did they solicit me to write it, but yeah, this pack really is that good. Despite my raves, I do have a few small nits.
The first isn’t really a nit of the pack itself, more about the convenience of a backpack in general. Even though I love the pack, I very much miss the hipbelt when I’m in the field. This isn’t so much a problem if I’m shooting in one spot, or even in an area, as I can put the pack down and wander around, coming back to get a filter or switch lenses if I need to. However, there are times when its not convenient to put the pack down, such as shooting on sand dunes, or when you’re standing in 2 inches of water at Badwater Basin. For those times, I wish I had the hipbelt system. That said, I came up with a fix for the problem. I also bought a tripod pouch (which I’ll talk about below) so I can hang my tripod off the back for hiking long distances. What I did recently was after I set up my tripod, I moved the pouch around to the front of the hipbelt, and hung it from the loops that are still available. I filled the pouch with another lens and some filters, thus allowing me to change lenses or filters without having to put my backpack down in the sand. I just had to keep sand out of the tripod pouch!
I may pick up another pouch just for that purpose.
As I mentioned I bought a padded tripod pouch, and I really like it. By putting the head in the pouch, it keeps my center of gravity low, which for klutzes like me, is absolutely essential. It works very well, but I notice I get a lot less bounce when I have a jacket or something in the top part of the pack to help fill up the empty space.
I think I’m off for a hike. If you’re in the market for a new backpack, I hope you found this review helpful.

