national park

...now browsing by category


Photo of the Month-October

Thursday, October 1st, 2009

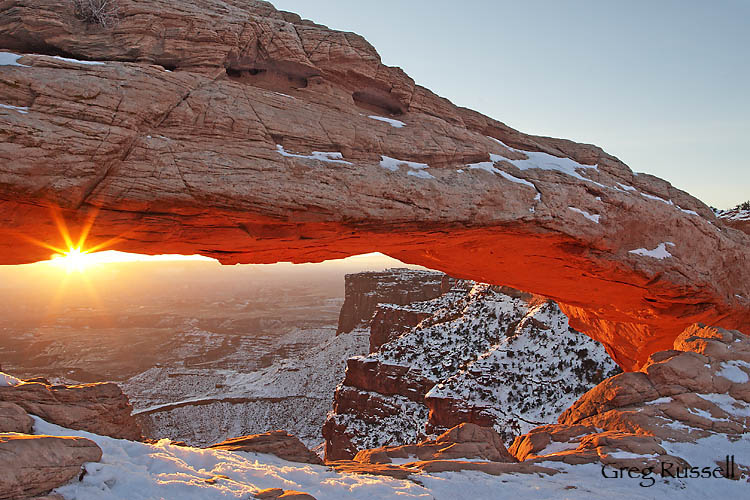
Mesa Arch is probably one of the most-photographed landmarks in Canyonlands National Park, but after watching Ken Burns’ new documentary “Our National Parks: America’s Best Idea”, I couldn’t help but post this shot–somewhat cliché, but one of my favorites.

Mesa Arch at sunrise, Canyonlands National Park, Utah, December 2008

Located in the Island in the Sky District of Canyonlands, Mesa Arch is lit brilliantly at sunrise as light reflects off the walls of Buck Canyon below.  The brilliant light only lasts a few moments, and I was very happy to be able to capture the sunburst as the sun crested the horizon to the west.  Although I’d hoped to experience the arch by myself, I was joined by about 7 other photographers, all gathered in an arc around the arch, but hopefully everyone got shots they were happy with.  To claim my spot, I stood in the dark for ~1.5 hours in 0 degree F temperatures.

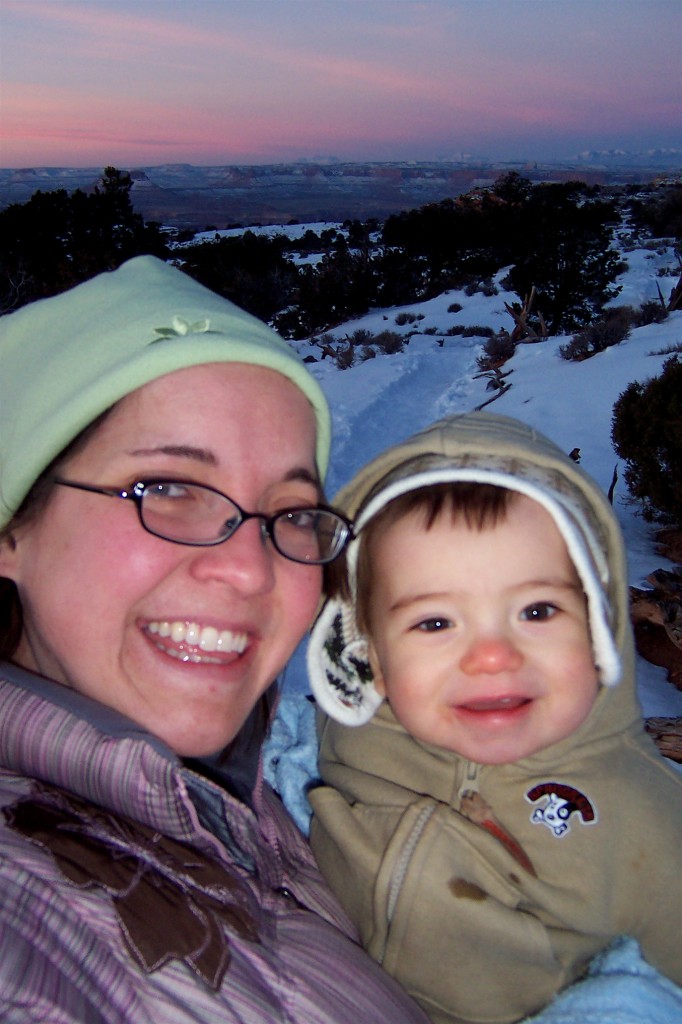
Although I lived in Wyoming, I’m a now a fully acclimated southern Californian making that was a very cold morning, but very worth it.  My wife and son were also able to come along…at the time Owen was only 11 months old:

100_5796Stephanie and Owen Russell, December 2008 (self portrait by Stephanie Russell)

Enjoy and have a great October!

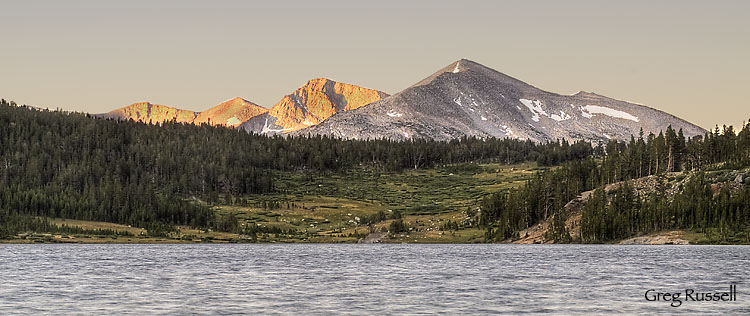
Mammoth Peak at dawn

Monday, September 28th, 2009

I’ve been sitting on this image since we got back from our Yosemite* trip in August for two reasons.  The first is that I haven’t had much time to give it more than a half-hearted attempt.  The second is that I didn’t know how to process it.  I was photographing Mammoth Peak** from across Tioga Lake, and the sunrise really was beautiful, but the wind was howling, and I was disappointed with the RAW files that I got home with.  I did a rough edit, but haven’t yet made a good effort to edit it properly.

However, today I had a chance to sit down and play with it more.  This is actually a blend of 3 shots, using Photomatix, and a technique I’ve described previously.

Mammoth Peak at dawn, Yosemite National Park, California, August 2009

*Although Mammoth Peak is in Yosemite National Park, Tioga Lake is not–its just outside the east entrance at Tioga Pass

**Mammoth Peak is not to be confused with the more popular Mammoth Mountain, about 30 miles south

Friday Marginalia

Friday, September 25th, 2009

How much do you use social networking to promote your photography?  Is it useful to you?  Jim Goldstein wants to know.  He’s compiled the 2009 Photographer Social Media Survey.  It only takes about 10 minutes (I took it last night), but hopefully the results will give some insight into usefulness of tools such as Twitter and Facebook.

Inge Fernau has returned from what must have been an exhausting marathon trip to the eastern Sierra.  Here’s a detailed status report on the fall colors.  Also, G. Dan Mitchell updated us on Inge’s, as well as many other fall color reports (as well as some great shooting tips for the aspens).  As I said last week, its reports like this that make this a great community of photographers.  It looks like peak will be sometime around the weekend of Oct 3/4; I’ll be there Oct 9-11, which will probably be on the tail end of peak, but it will still be pretty, and maybe not quite as busy.  If anyone wants to meet up to shoot that weekend, send me an email.

I saw this blog post months ago, and am glad Phil Colla reposted it this week.  He describes a very useful technique for getting the most out of your RAW images.

Gary Crabbe shared a great story about Galen Rowell this week.  I’m still smiling from it.

The Ansel Adams Gallery announced their first National Parks Photography Contest, opening October 1.  It looks like there will be many great entries.

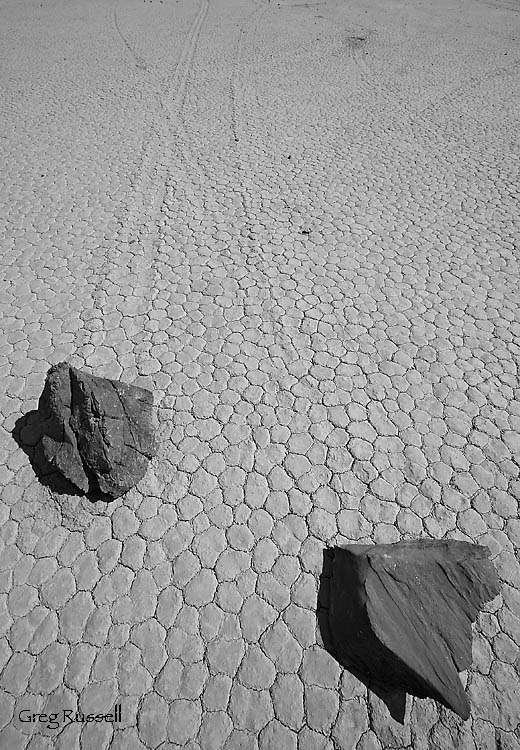
The Santa Ana winds have been blowing this week in southern California, and true to form, we had fires this week.  I’m hoping the firefighters get a break this fall.  Because we’ve been baking in 100+ degree temperatures, today’s photo is from Death Valley National Park:

Crossing Paths, Death Valley National Park, California, March 2009

Have a great week!

Another image from Bryce Canyon N.P.

Wednesday, September 16th, 2009

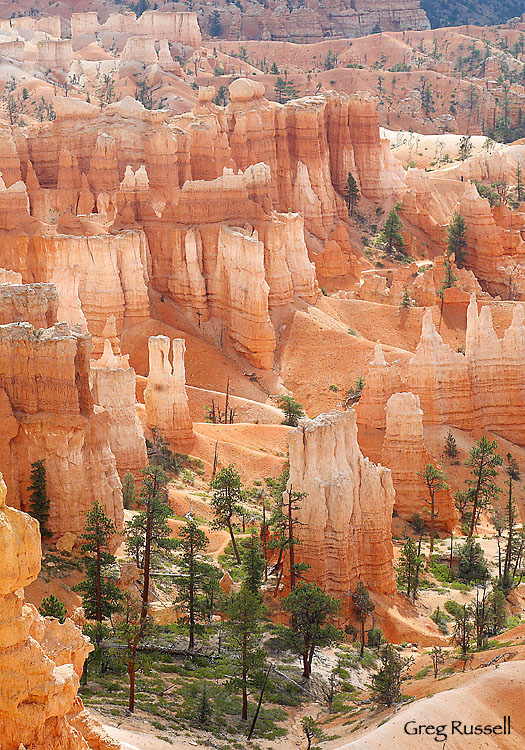
Last night I had time to sit down and process another image from our Bryce fly-by in late August.  Even at about 10am, I was amazed by the glow these formations have.  The ponderosa pines really contrast nicely with the brilliant reds in the rock, and I love the “3-D” feel this image has.

Looking into the Amphitheater, Bryce Canyon National Park, August 2009

Photo of the Day: Thor’s Hammer

Monday, September 14th, 2009

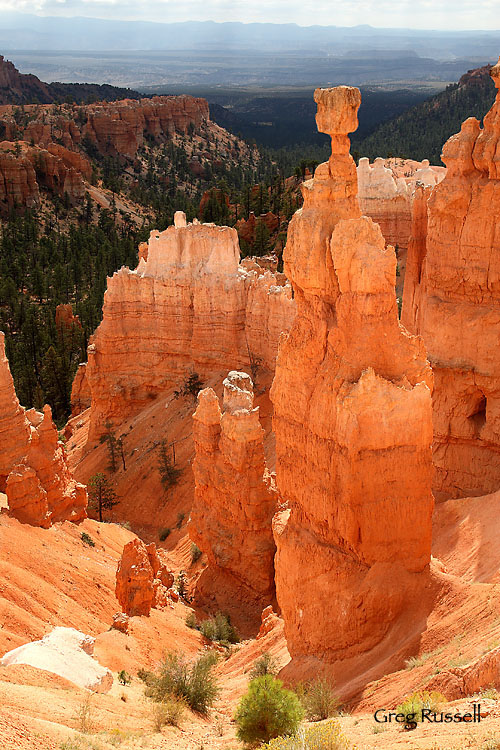
Our recent visit to the Grand Staircase-Escalante National Monument was one of multiple “firsts” for me.  A notable one was my first visit to Bryce Canyon National Park.  I’ve come close multiple times–driving by on the west, north and south, but I’d never been in to see the famous Bryce Amphitheater.  All I really have to say is, “Holy Cow!”  Bryce truly is stunning.

Part of the Claron formation, the rocks in Bryce were deposited by an ancient inland sea and are about 100 million years younger than the rocks in Zion National Park.  The rocks exposed in Zion are younger than the ones in the Grand Canyon; there are, however, formations that are shared by all three areas.  This creates a sequence of superformations geologists refer to as the Grand Staircase.  Bryce Canyon’s formations are the youngest known formations in the staircase.

The colorful hoodoos that Bryce is famous for are formed by a chemical weathering process, similar to erosion.  Today’s photo of Thor’s Hammer, the tallest of these hoodoos was taken in August 2009.  I would have wished for slightly better light, but a clearing thunderstorm gave me interesting dappled sunlight, and allowed the limestone to display its beautiful color!

Thor’s Hammer, Bryce Canyon National Park, August 2009


Tone mapping a single image: RAW or TIFF? A comparison.

Friday, September 11th, 2009

In hindsight this seems like a no-brainer, but since its come up in a few threads recently (e.g. http://www.naturescapes.net/phpBB3/viewtopic.php?f=2&t=162031 ), I thought I would address the question of whether its better to feed a TIFF or RAW file into Photomatix for HDR generation. For this comparison, I chose to tone map only one image, not several. Although you probably already know the outcome, the end images are only subtly different, but getting there was quite different.

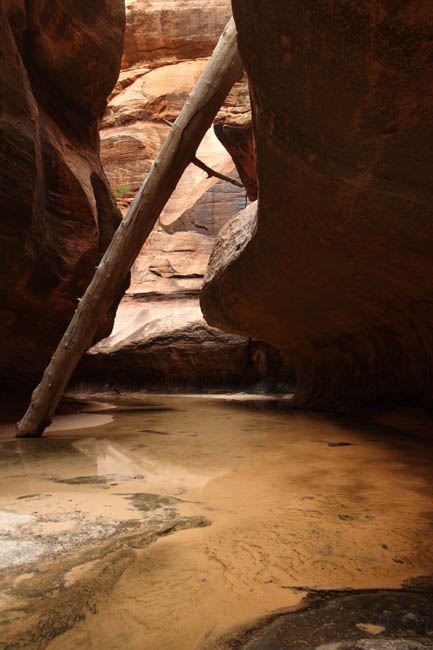
I started with a base image, shot in Zion National Park last weekend:

This is the RAW image; all I did before feeding it into Photomatix was adjust the white balance to “shady” in DPP. The TIFF image looked identical; all I did was save it as an uncompressed TIFF with no other change. As soon as I opened the RAW image in Photomatix, it underwent a process of demosaicing and decompressing. I could already tell that it would be taking advantage of the “extra” info in the RAW image. It opened the image as a “pseudo-HDR” image, and I was able to obtain some stats on it:

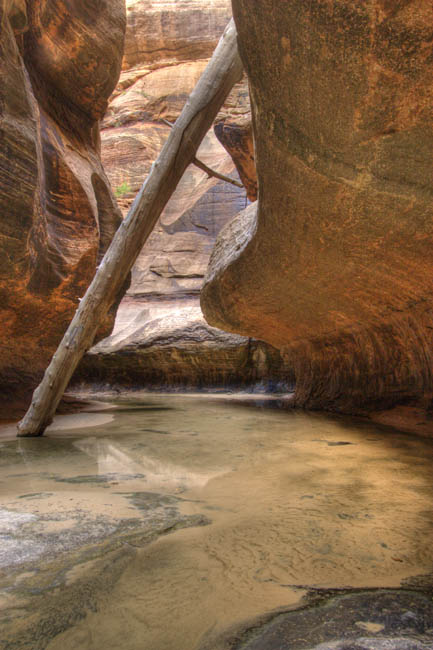
The TIFF image opened simply as the TIFF image, and there was no more information associated with it than with a regular image. I first tonemapped the images using the Details Enhancer algorithm, and saved them as TIFF files for use in PS. There wasn’t much difference between the two:

Here’s the RAW file tone mapped with DE:

And the TIFF file tone mapped with DE:

Then I did the same thing using the Tone Compressor algorithm:

The RAW file:

And the TIFF file:

Whoa! I can only assume this funky-looking image is the result of the loss of information during conversion from RAW to TIFF early in my workflow. So, now I have 2 tone mapped images obtained from the original RAW file, and 2 from the original TIFF file. My workflow for each of the 2 final images was slightly different although not much:

For the RAW-derived images I used the DE tone mapped image as the base image in PS, and pasted the TC image over it. I used the Overlay blending mode at ~30% opacity, and the image looked pretty good. I did levels and curves adjustments (and also a desaturation of about -15), noise reduction with Imagenomic Noiseware, then some sharpening and I called it good:

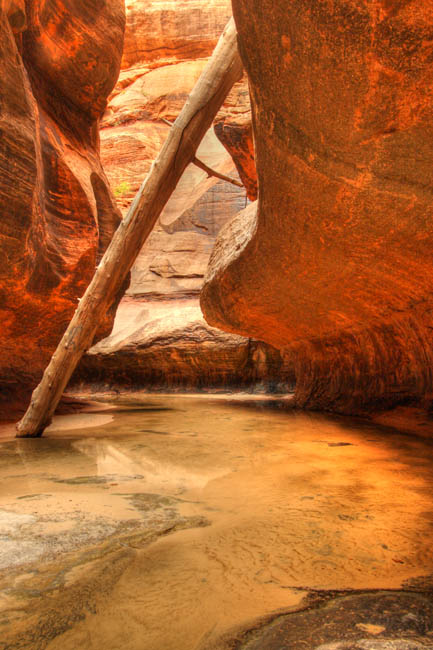
For the TIFF-derived images, I again used the DE tone mapped image as the base image, and pasted the TC image over it. This time, because of the extreme nature of the TC image, I used a “Linear Burn” blending mode at about 25% opacity, and the image looked pretty natural. After normal processing (including noise reduction), here is what I got:

In the end the differences between the images are subtle, and I like them both for different reasons. The RAW-derived image looks more “natural”, but I sort of like the reddish “glow” that’s present in the TIFF derived image. The no-brainer here is that you certainly lose a lot of valuable information by using TIFF instead of RAW for this sort of application.

I doubt anyone cares as much as I do (haha), but this was an instructive exercise to go through.

One more image from the Subway

Wednesday, September 9th, 2009

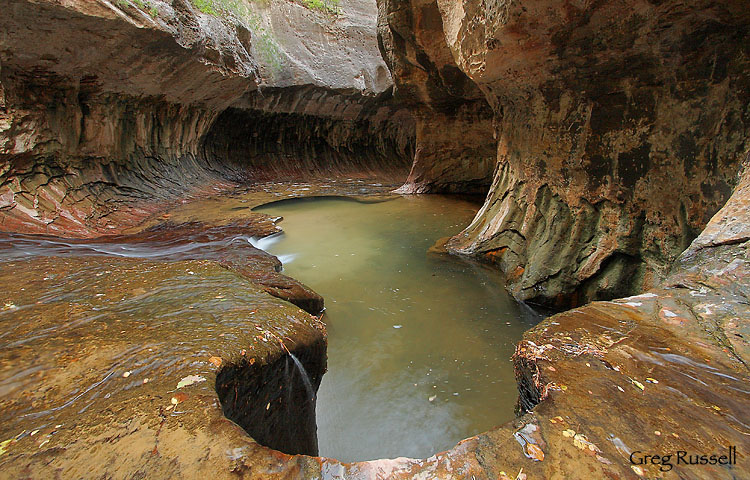
Today I’d like to share one more image from the Subway in Zion National Park.  This image really shows how the feature gets its name: look at how the walls of the canyon curve up like a subway tunnel.

Into the Subway, Zion National Park, Utah, September 2009

I really like how the leaves are scattered on the rock, adding little splotches of color everywhere.  Hope you enjoy looking!

The little seen places in our national parks–Zion edition

Tuesday, September 8th, 2009

We made an end-of-the-summer trip to Zion National Park this weekend.  Since it was the last “official” weekend of summer (Labor Day weekend), we were joined by several thousand other people.  A large percentage of those people saw most of Zion Canyon’s amazing sights: the Towers of the Virgin, Court of the Patriarchs, sunset on the Watchman, and some even got to experience hiking in narrows of the Virgin River.  I know I never tire of seeing these sites.  Zion really is one of my favorite of our National Parks.

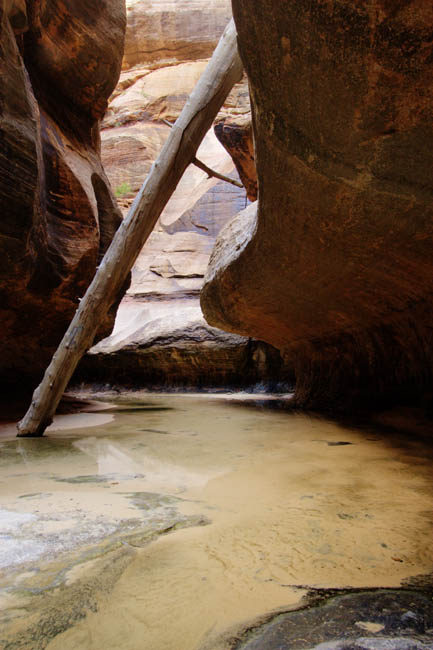
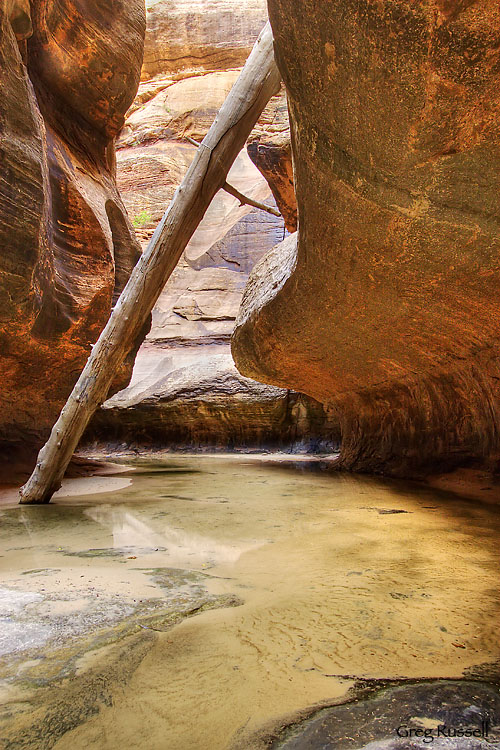
Over the last couple of years, with the help of my dad, I’ve gotten more into exploring the canyons of the southwest, particularly in southern Utah.  I recently wrote about trips to Zebra and Neon canyons, and have also descended Mystery and Behunin canyons in Zion, but unfortunately did not have camera gear with me on those trips.  A few years ago, we descended the Subway (also in Zion), but I didn’t have a camera then, either.  This Labor Day, the opportunity came up to hike through the Subway again*, so I jumped on it, and brought a small amount of camera gear.
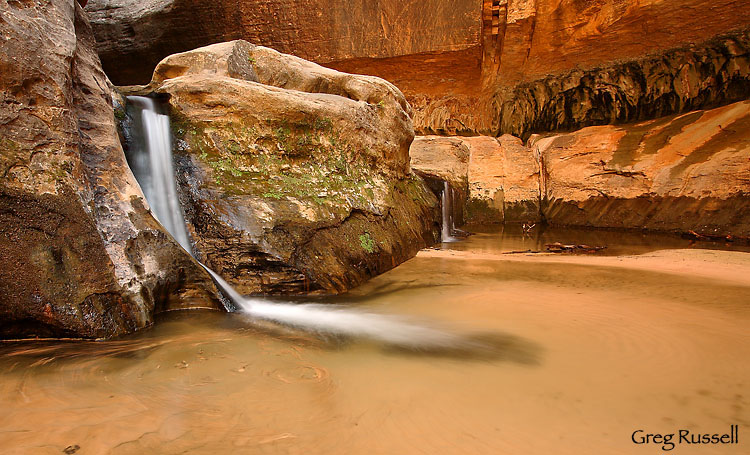
Inside the Subway, Zion National Park, Utah, September 2009

Technically, the Subway isn’t a difficult canyon.  There are no spots where rappelling is absolutely necessary (although we did rappel twice) and the hike is otherwise rather straightforward.  It is long, however, and there is at least one major swim (we encountered 2) where your gear gets submerged, no matter how good of a swimmer you are.  So, I wanted to save weight, and most of all I wanted to keep my gear dry.  I bought two Outdoor Research Hydroseal dry bags and essentially double-bagged my gear.  I then placed it at the top of my pack, under the reasoning that if I were swimming with a pack on, the top of the pack would likely be in the water the least.
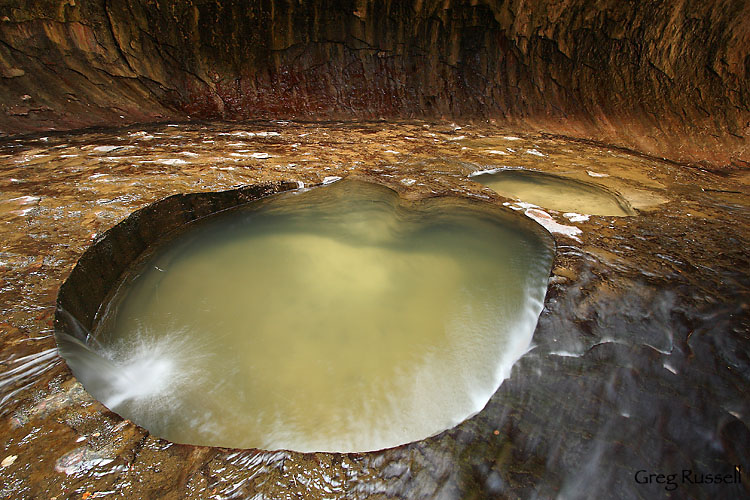
Potholes in the Subway, Zion National Park, Utah, September 2009

My method seemed to have worked.  After 2 major swims, my gear was all dry!  However, my biggest concern was whether my gear was crushed.  Earlier in the day, I took a tumble that was less than hair raising, but just barely.  I slipped on the steep descent into the canyon, and nearly went over the edge, as the sand just kept falling away from underneath me.  Fortunately my gear was all OK.  I *only* suffered a pretty torn up elbow, which is better than the alternative.

As it turned out, Labor Day weekend is very busy, with the canyon’s daily visitation quota filled to capacity.  We did have to linger a while in the Subway proper for crowds to clear out, but that allowed some clouds to come in allowing the contrast to be reduced.  It made for a satisfying, but late day in a beautiful canyon.  On our hike out, I did regret not bringing my telephoto lens.  We came across one of the largest (and most beautiful) king snakes I’ve ever seen, and it would have been nice to document that.  Alas.
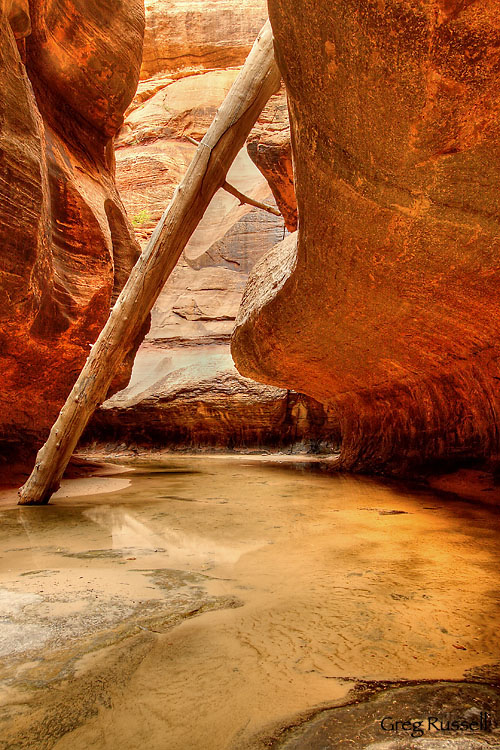
Fallen log, Zion National Park, Utah, September 2009

So it was that we were able to experience (and photograph) one of the little seen places in our national parks.  The next time you visit a popular tourist attraction, consider getting off the beaten path, having an adventure, and photographing something out of the ordinary.

*Note that the Subway can be accessed from either upcanyon or downcanyon.  Most photographers I think prefer to hike in from the bottom, as it avoids all the technical sections, as well as the swims (although its still a good idea to dry bag your gear).  We hiked in from above, choosing to “suffer” through the technical sections.  My body took a beating as a result, but it was so worth it.
Photographing Zebra Canyon

Sunday, September 6th, 2009

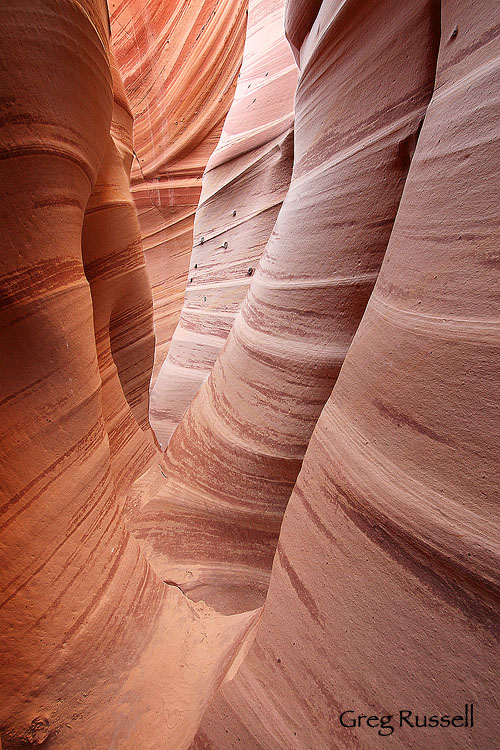
The primary purpose of our recent trip to the Grand Staircase-Escalante National Monument was to visit a slot canyon called Zebra Canyon.  I had seen a stunning photo of this canyon by Guy Schmickle, another photographer, and since I had some time before my semester began I wanted to visit it myself.

Zebra Canyon I, Grand Staircase-Escalante National Monument, Utah, August 2009

Although the canyon is not marked on any map I’ve encountered, it is relatively easy to find because it has become more popular with canyoneers in recent years, and there is a somewhat well-defined trail leading to it.  The hike in is approximately 2.5 miles, so we started early to avoid the treacherous August heat.  Besides, Zebra–like any slot canyon–is best photographed in the mid morning, because you want light in the canyon, but you don’t want one wall illuminated and the other in shade, because you will run into major contrast problems.

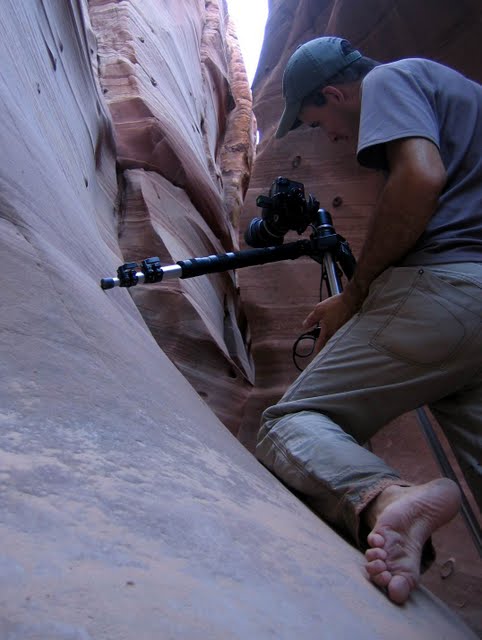
Luck was with us because no one else was there that morning, so we had the canyon to ourselves.  As I mentioned previously, I was there with two companions, and Zebra is no place for 3 people at once, especially 3 photographers!  So we each took a turn.  A tripod is necessary (all of my exposures were at least 1 second), but maneuvering one is not easy.  My friend Brent took a photo of me fighting with the narrow walls of the canyon:

101_0110aGreg photographing in Zebra Canyon, August 2009 (photo by Brent Deschamp)
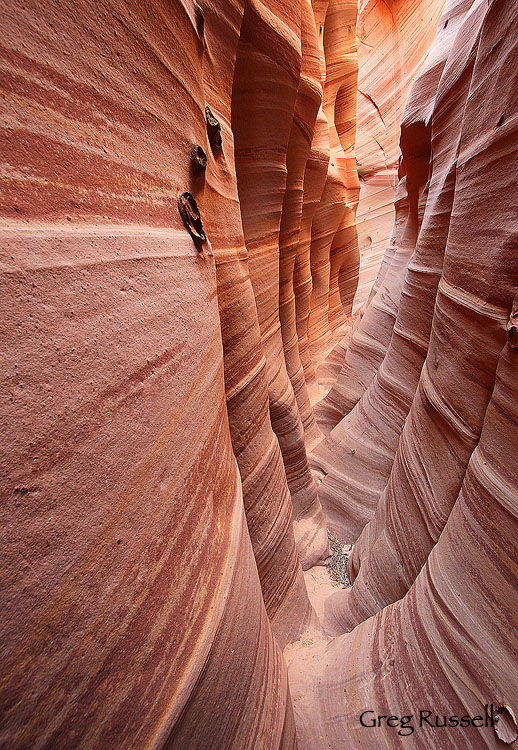
It would have been easy to spend all day in the canyon because (a) it was beautiful, and (b) it was nice and cool.  However, we wanted to visit one more canyon (Tunnel–not as photogenic) in the area before hiking out.  It was a great start to the exploration of a fantastic area.

Zebra Canyon II, Grand Staircase-Escalante National Monument, Utah, August 2009

Friday Marginalia

Friday, September 4th, 2009

School started this week, but we’ve got one last respite of summer: the upcoming Labor Day weekend!  Wife and I worked all last evening to get the car packed so we can get out the door to Zion National Park early this morning, and beat southern California traffic through Las Vegas.  On Sunday we have a permit to hike the left fork of North Creek, also known as the Subway.  This will be our second time through, but this time I’m taking my camera and 1 lens (in addition to ropes, harnesses, etc), so I’m hoping to come back with some photos of this amazing canyon.

Although we’re not quite to the end of summer, its time to start looking to fall.  By way of Phillip Colla this week, I learned of a lot of great online resources to monitor the onset of fall color in the eastern Sierra Nevada.  We were already planning a fall trip to Bishop Creek Canyon and Lundy Canyon, but this sort of re-cxcited me for fall, which is my favorite season.

Michael Frye posted an update on his recent night photography workshop.  It looks like it would have been especially neat to attend this one because of the fires currently burning in Yosemite National Park.

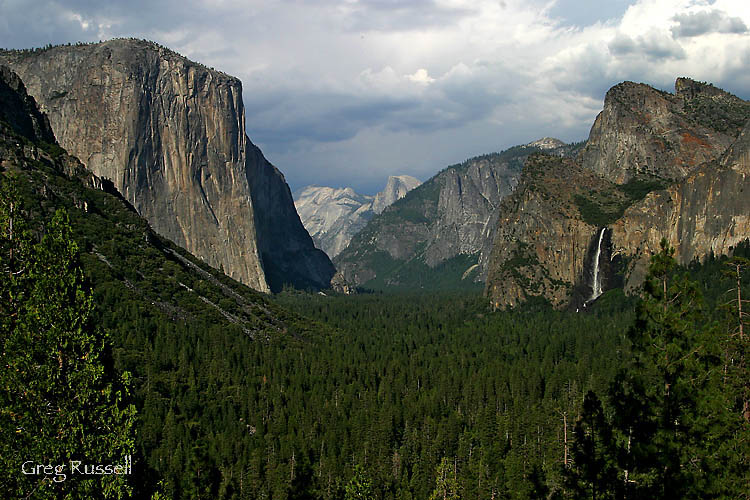
Today’s photo is a few years old, taken from the classic Tunnel View overlook in Yosemite, right before a summer thunderstorm:

Yosemite Valley, July 2006